I have always admired people who could use visual art as a way to express themselves but I never thought I could be that person. Even though I considered myself an artist, I found that I would get stressed about my art projects, wanted them to look perfect. I want my work to be appreciated and understood but I felt so rigid when I was creating. Fortunately, I came across a style of expressive art that has given me so much freedom. It has given me a way to express myself and I have found that when I worked on other art projects, I was more relaxed and was able to greater with more ease. It has made me fall in love with art again.
I am talking about neurographic art or neuroart. The process itself is called Neurographica which was developed by Russian psychologist Pavel Piskarev in 2014. He calls the process “ A creative method of world transformation. In this process, you engage the neurons in the brain while transforming your stress and challenges into something visually pleasing and calming. The term Neurographica is made up of the terms neuron and graphic. Neurons are the basic unit of our nervous system. Those cells carry messages between the brain and other parts of our bodies. The other word is graphics which is the artistic use of shapes pictures and words.
Neuroart doesn’t always follow the algorithm Piskarev designed and it can be based on a specific image or they can be completely abstract. All forms of this art style are incredibly soothing and relaxing to do. I have personally benefited from learning this method of releasing and transforming my worries and stress into a piece of artwork that I can call my own.
Let’s get started:
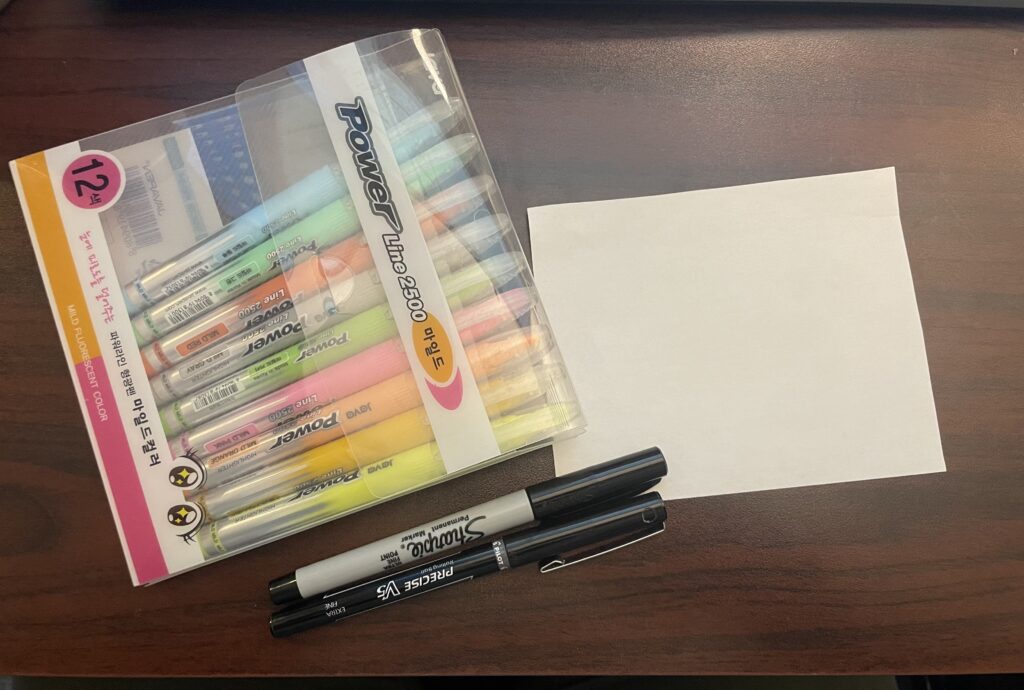
You will need some paper or cardstock
You will want to have something to mark the lines on the pages and then tools to color in the artwork. Pens and markers work well for the lines
You can use anything to color in the project whether that is colored pencils, pastels, paint, or markers, the options are limitless. You can even use digital mediums to do this artwork.

Tips to make this practice effective:
Make this a practice of mindfulness. Put your whole self into this project. All your attention and awareness should be in the present moment.
Take deep breaths while working on this project. this will help you remain connected to your body and to the present moment.
Get out of your head and into your body. Try not to think too hard about what you are drawing. Trust your intuition and be guided by it.
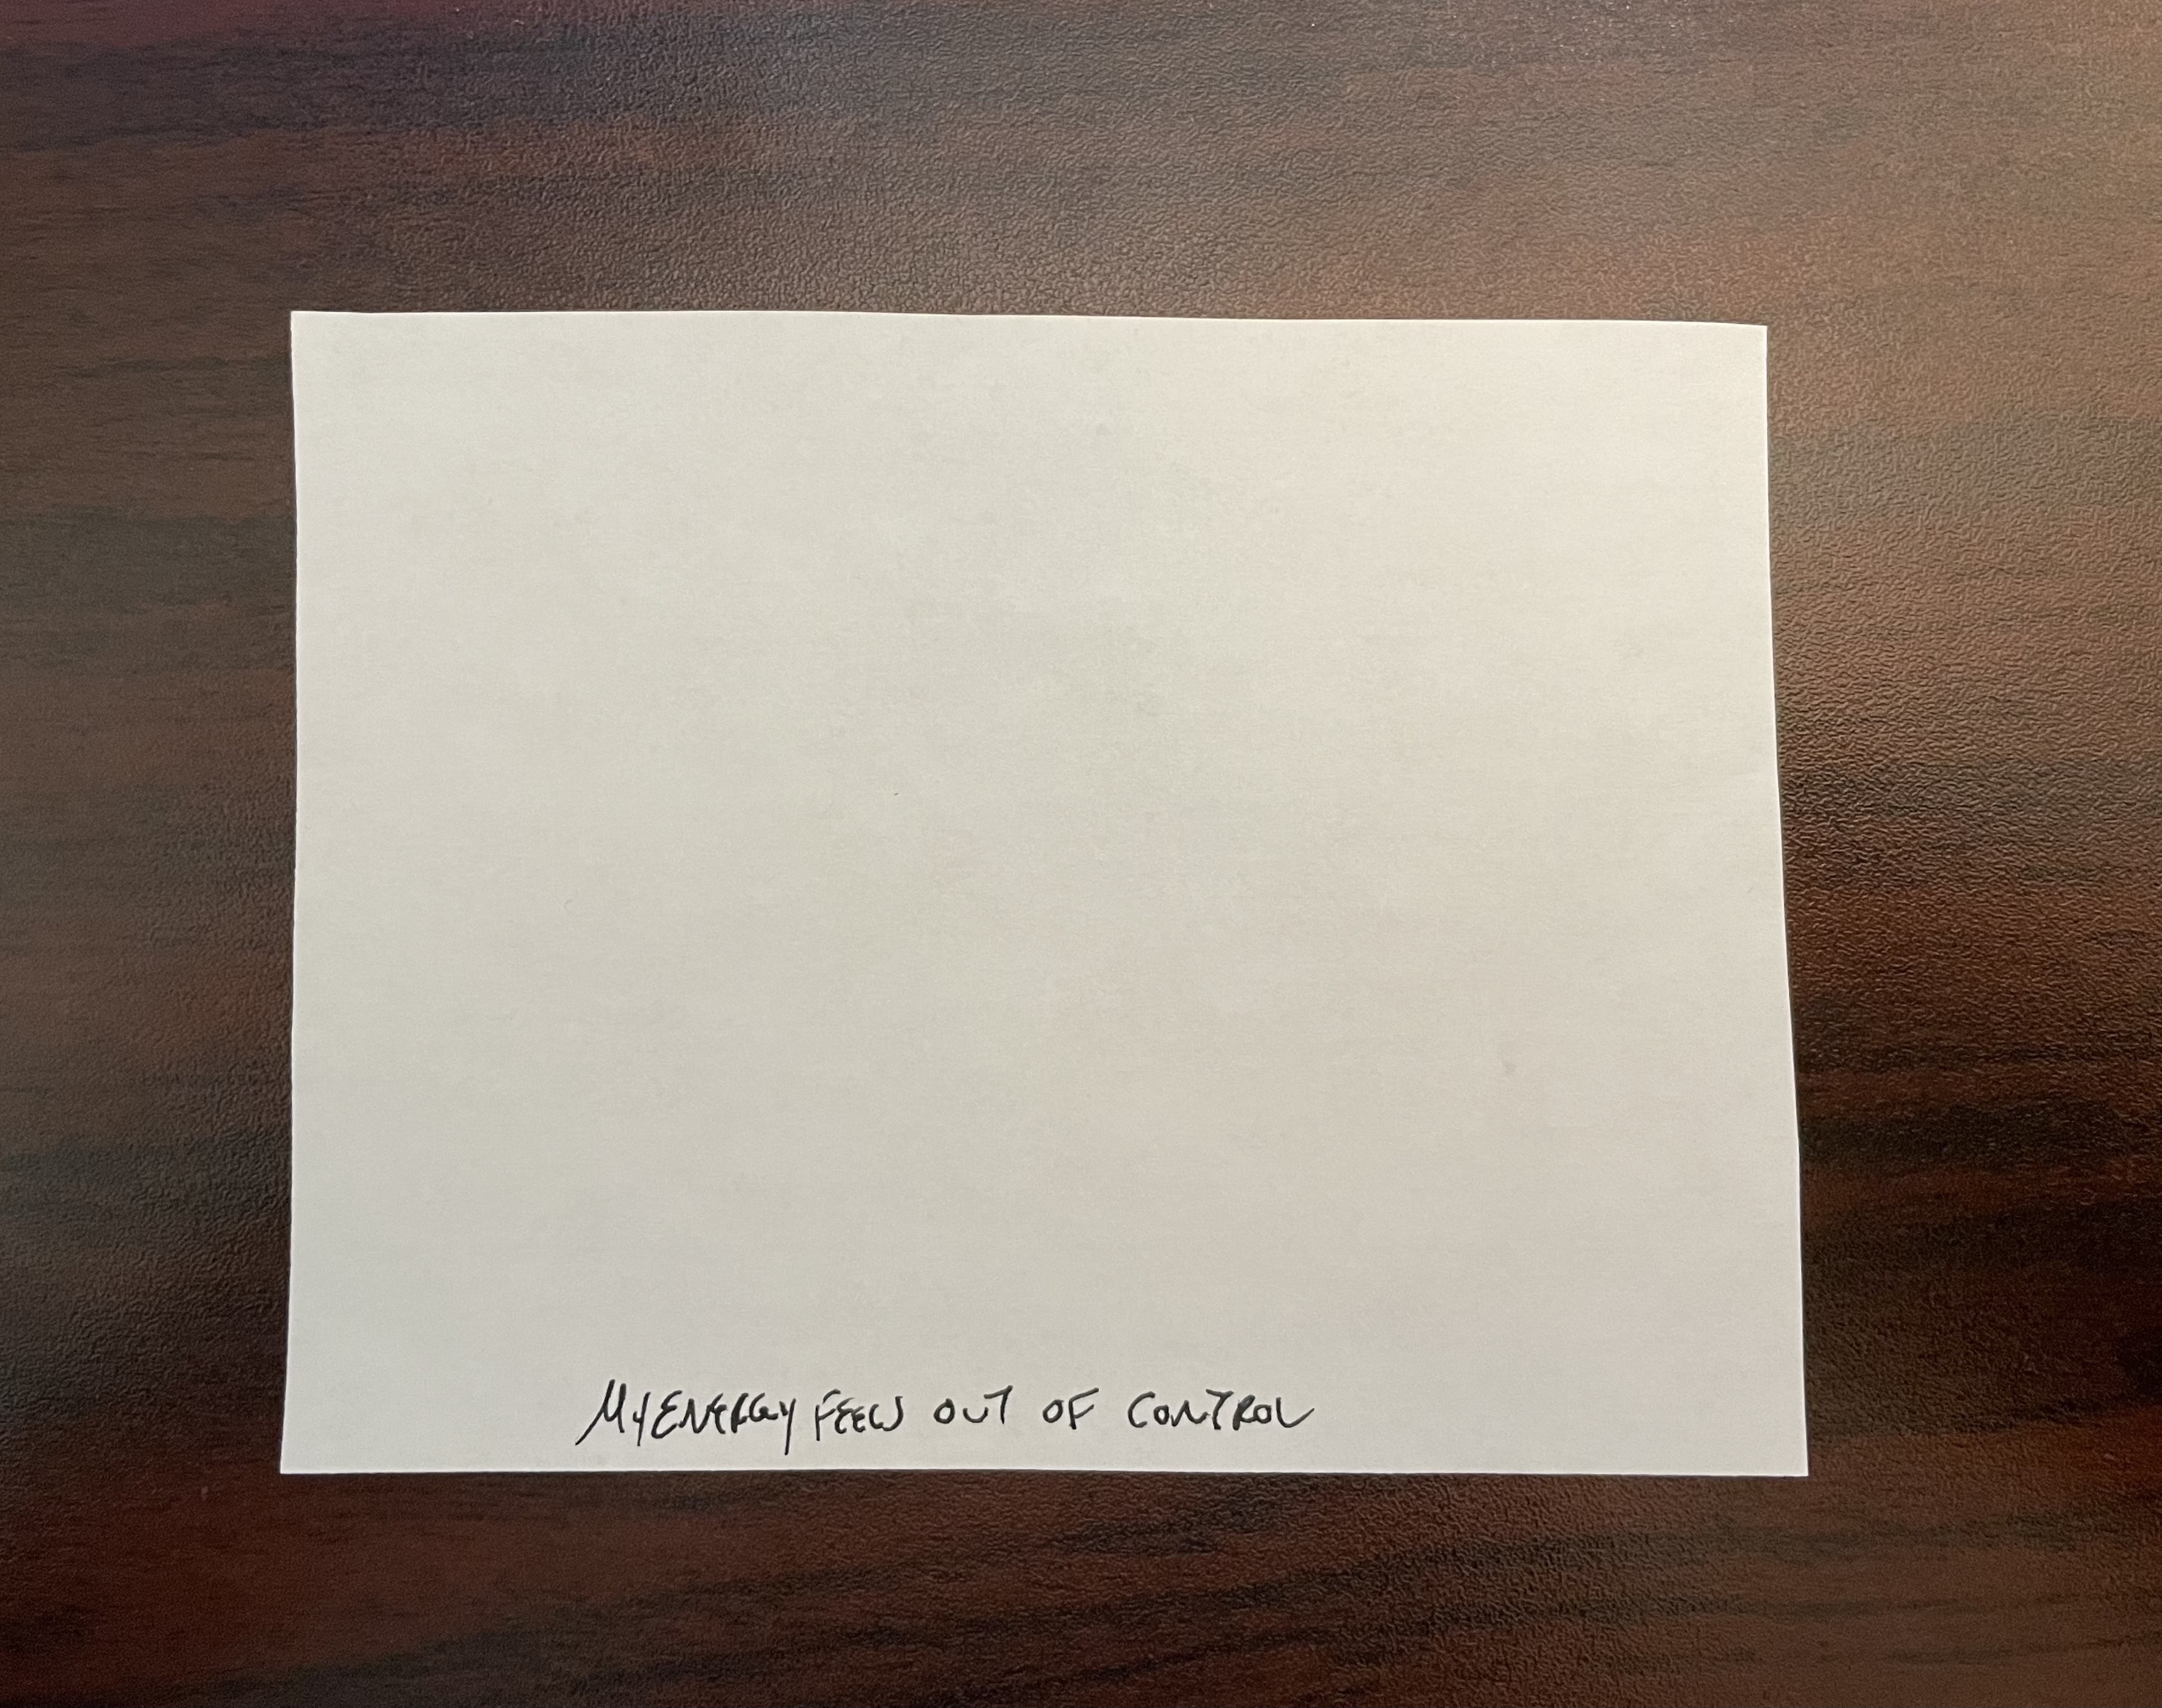
Step 1: Identify the problem
Take some time to think about what is making you upset, tense, or stressed out. you can also think about a distressing memory or anything that is bothering you. You can write this down on the back of the page. As you can see I was feeling like my energy was out of control and I wanted to reign it back in.
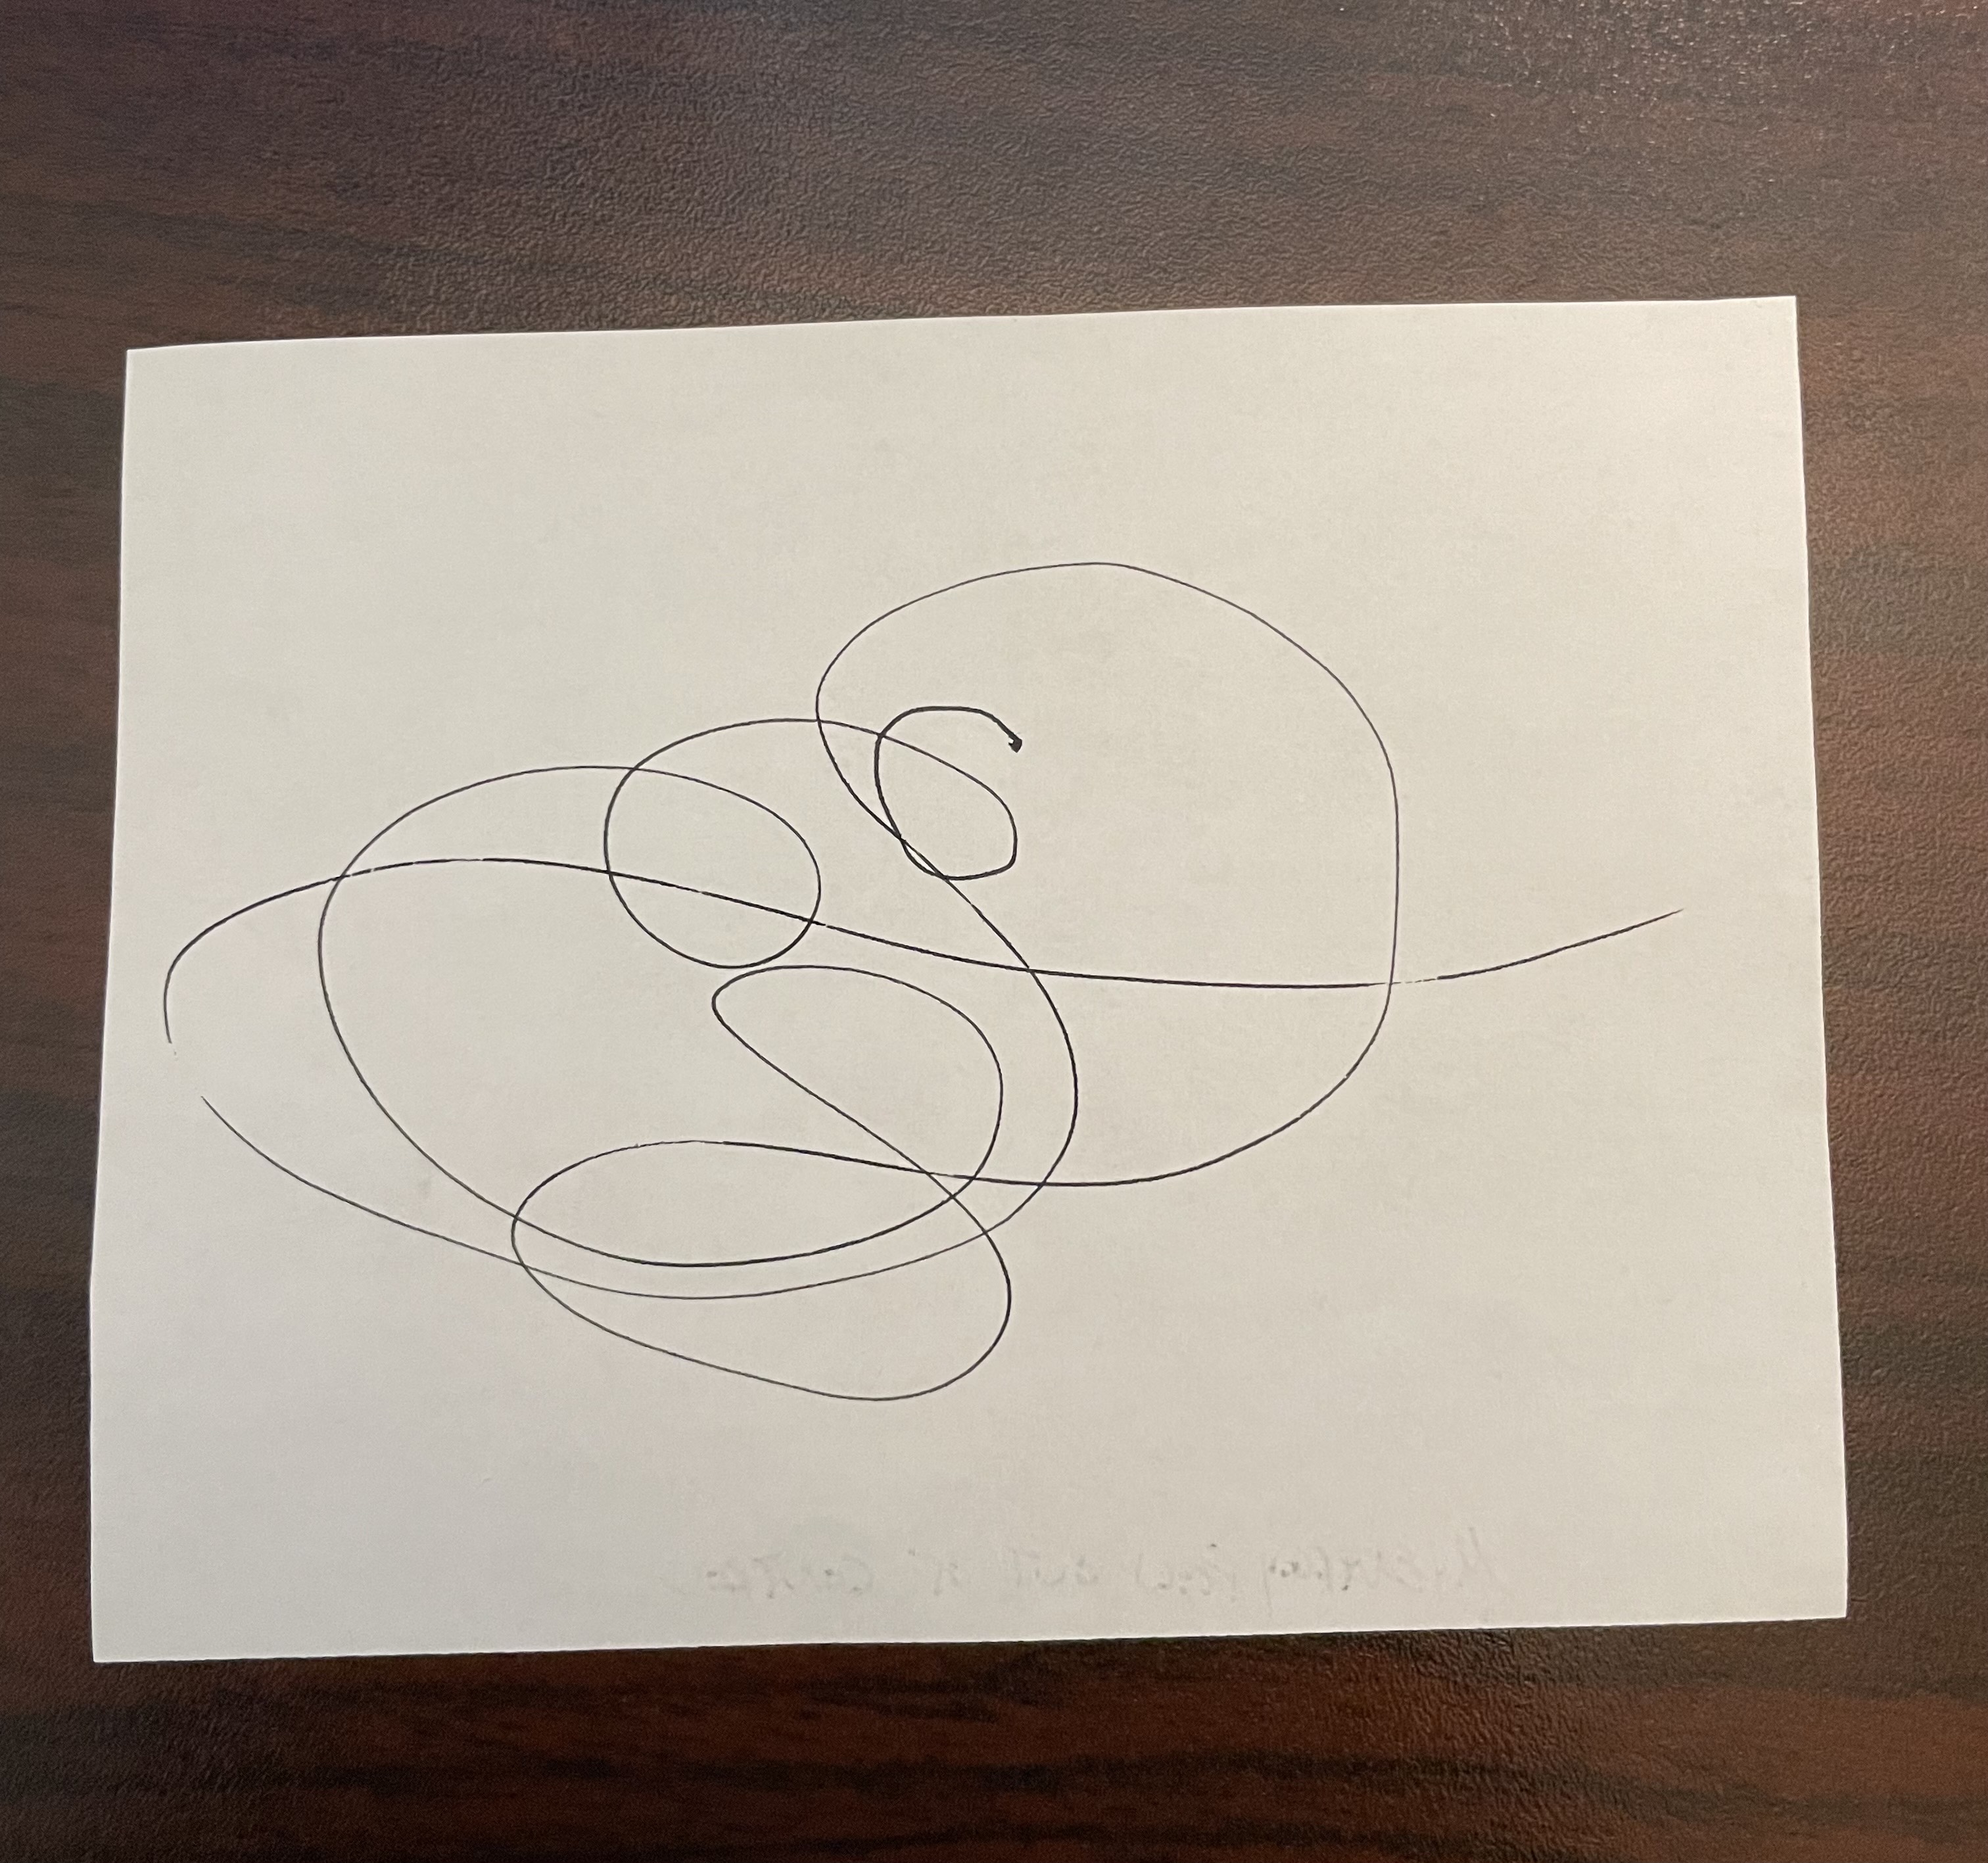
Step 2: Release on paper
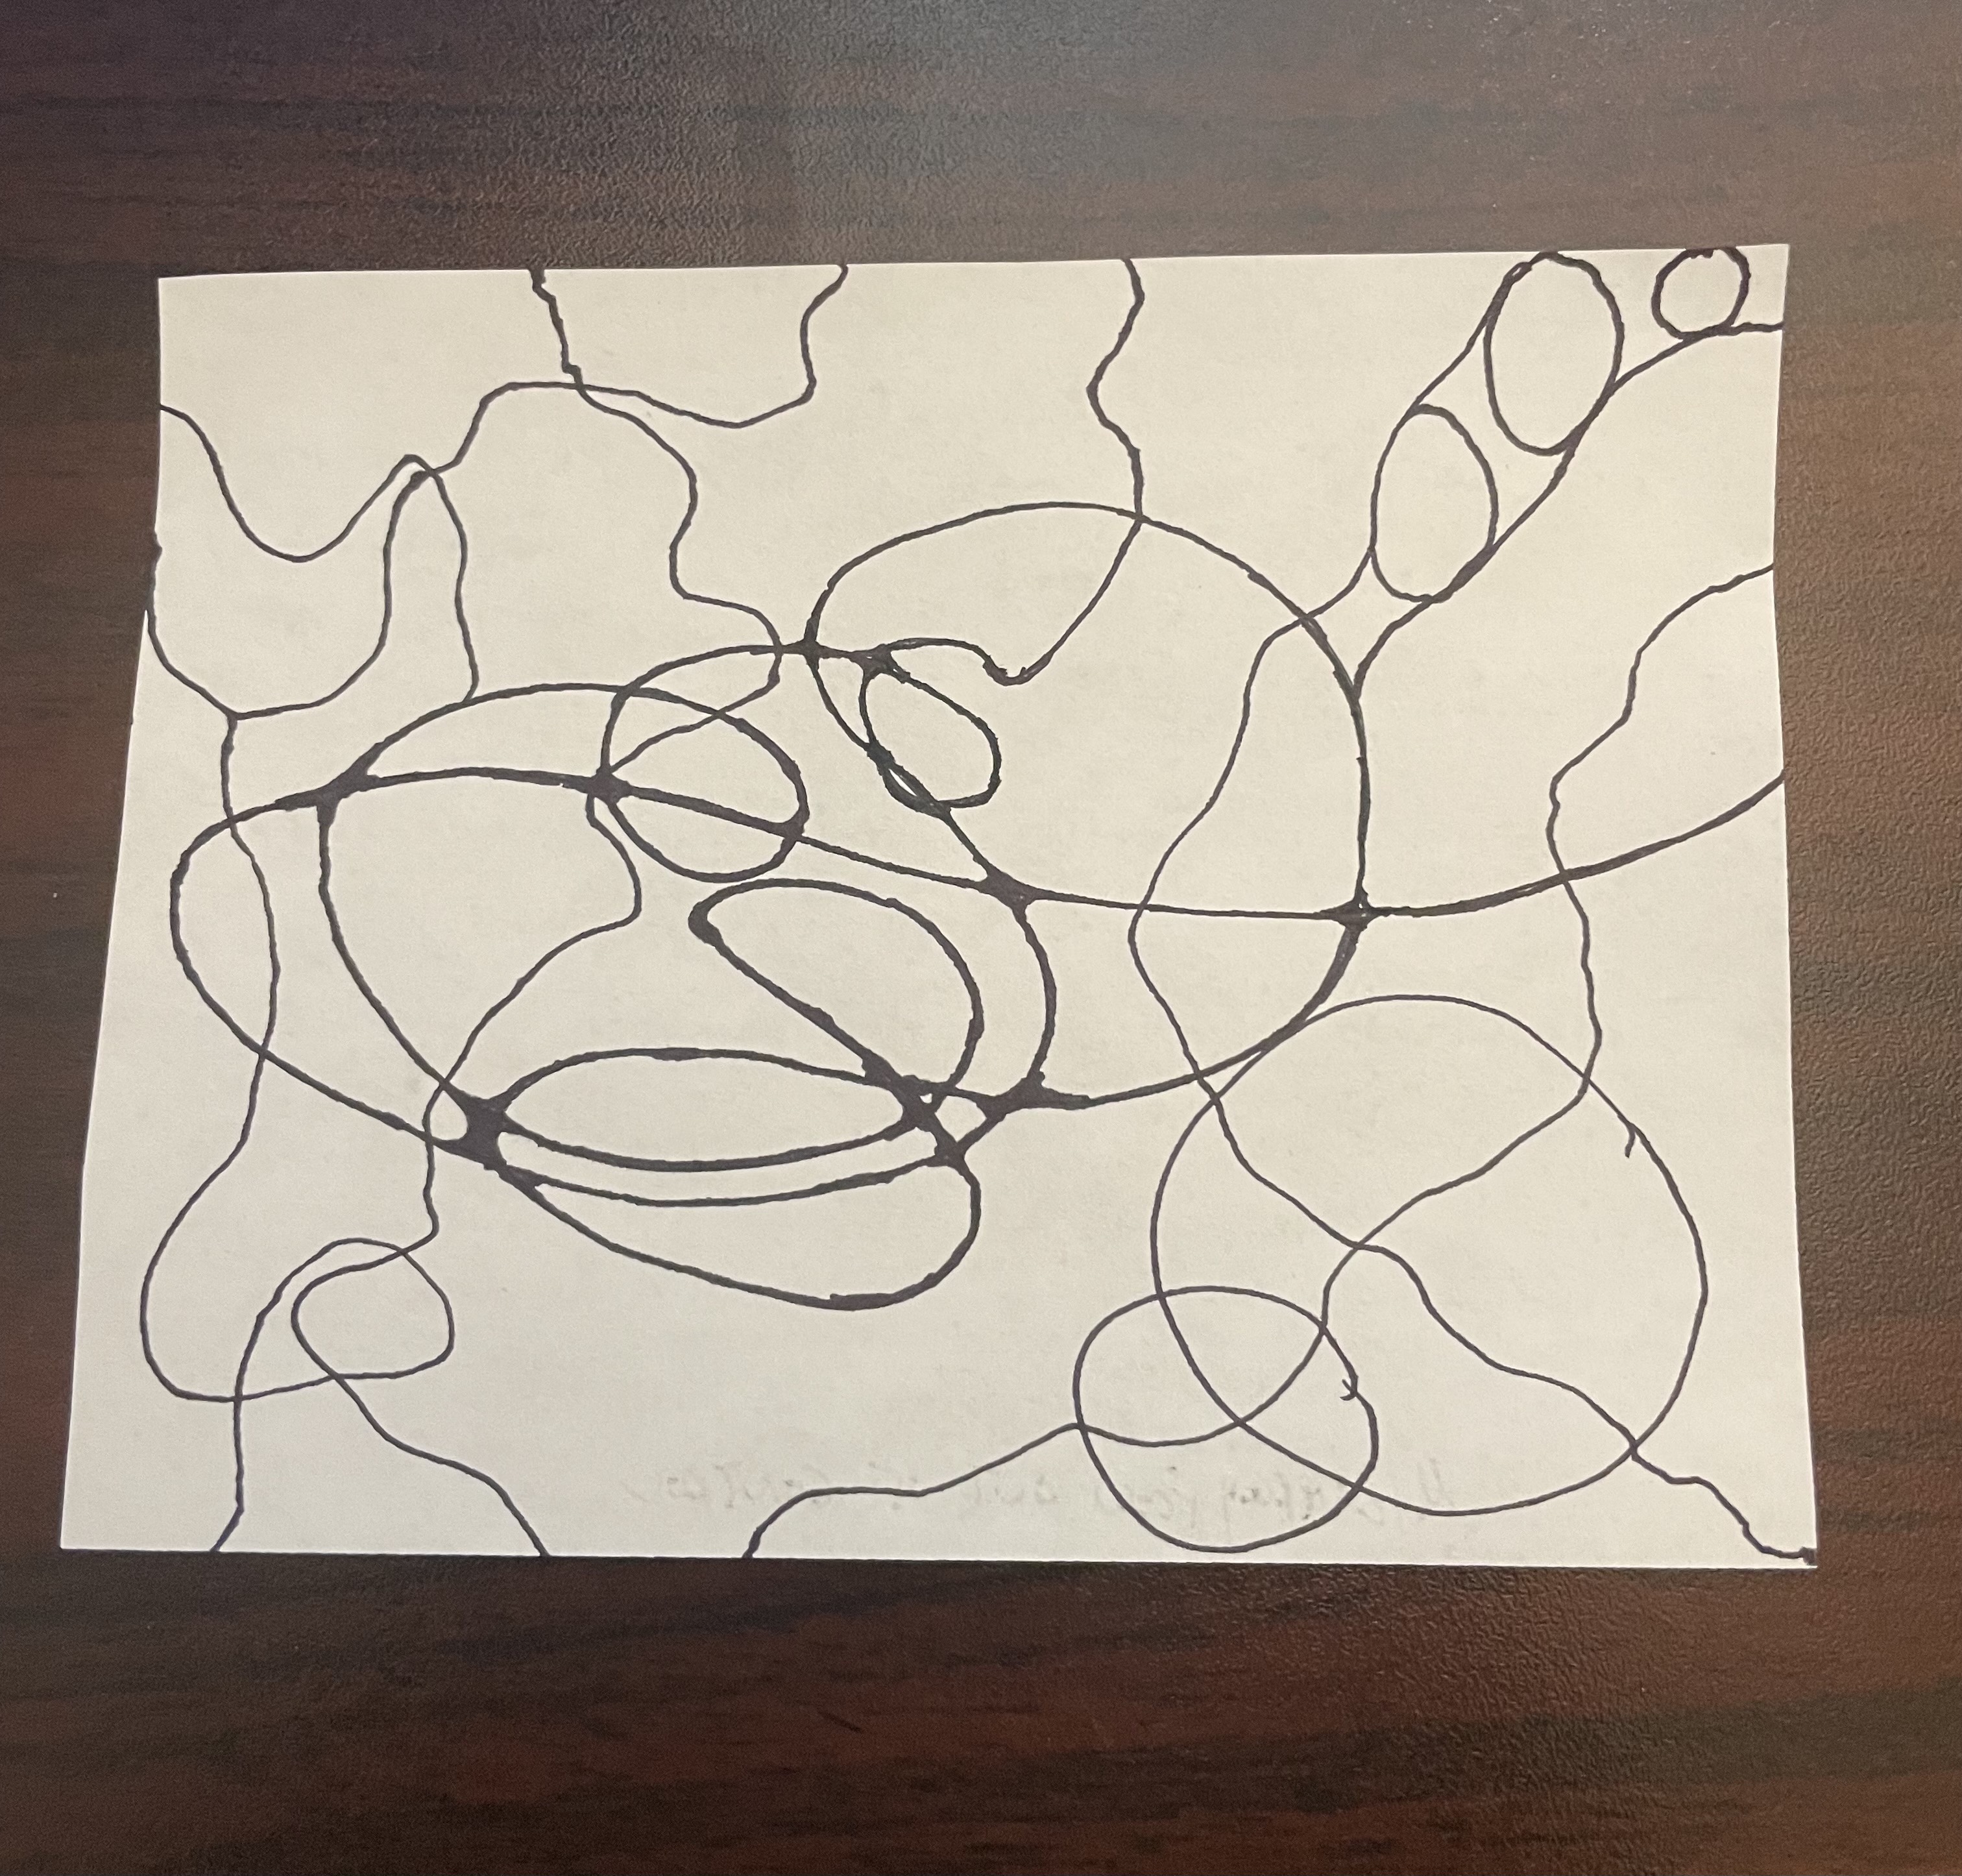
Take a deep breath and as you breathe out scribble the feelings onto the paper for 3-5 long seconds. Don’t think about what this will look like just do what comes naturally. Allow the emotion to express itself through the lines. It might feel incomplete but it’s okay! just see what your hand feels like drawing.
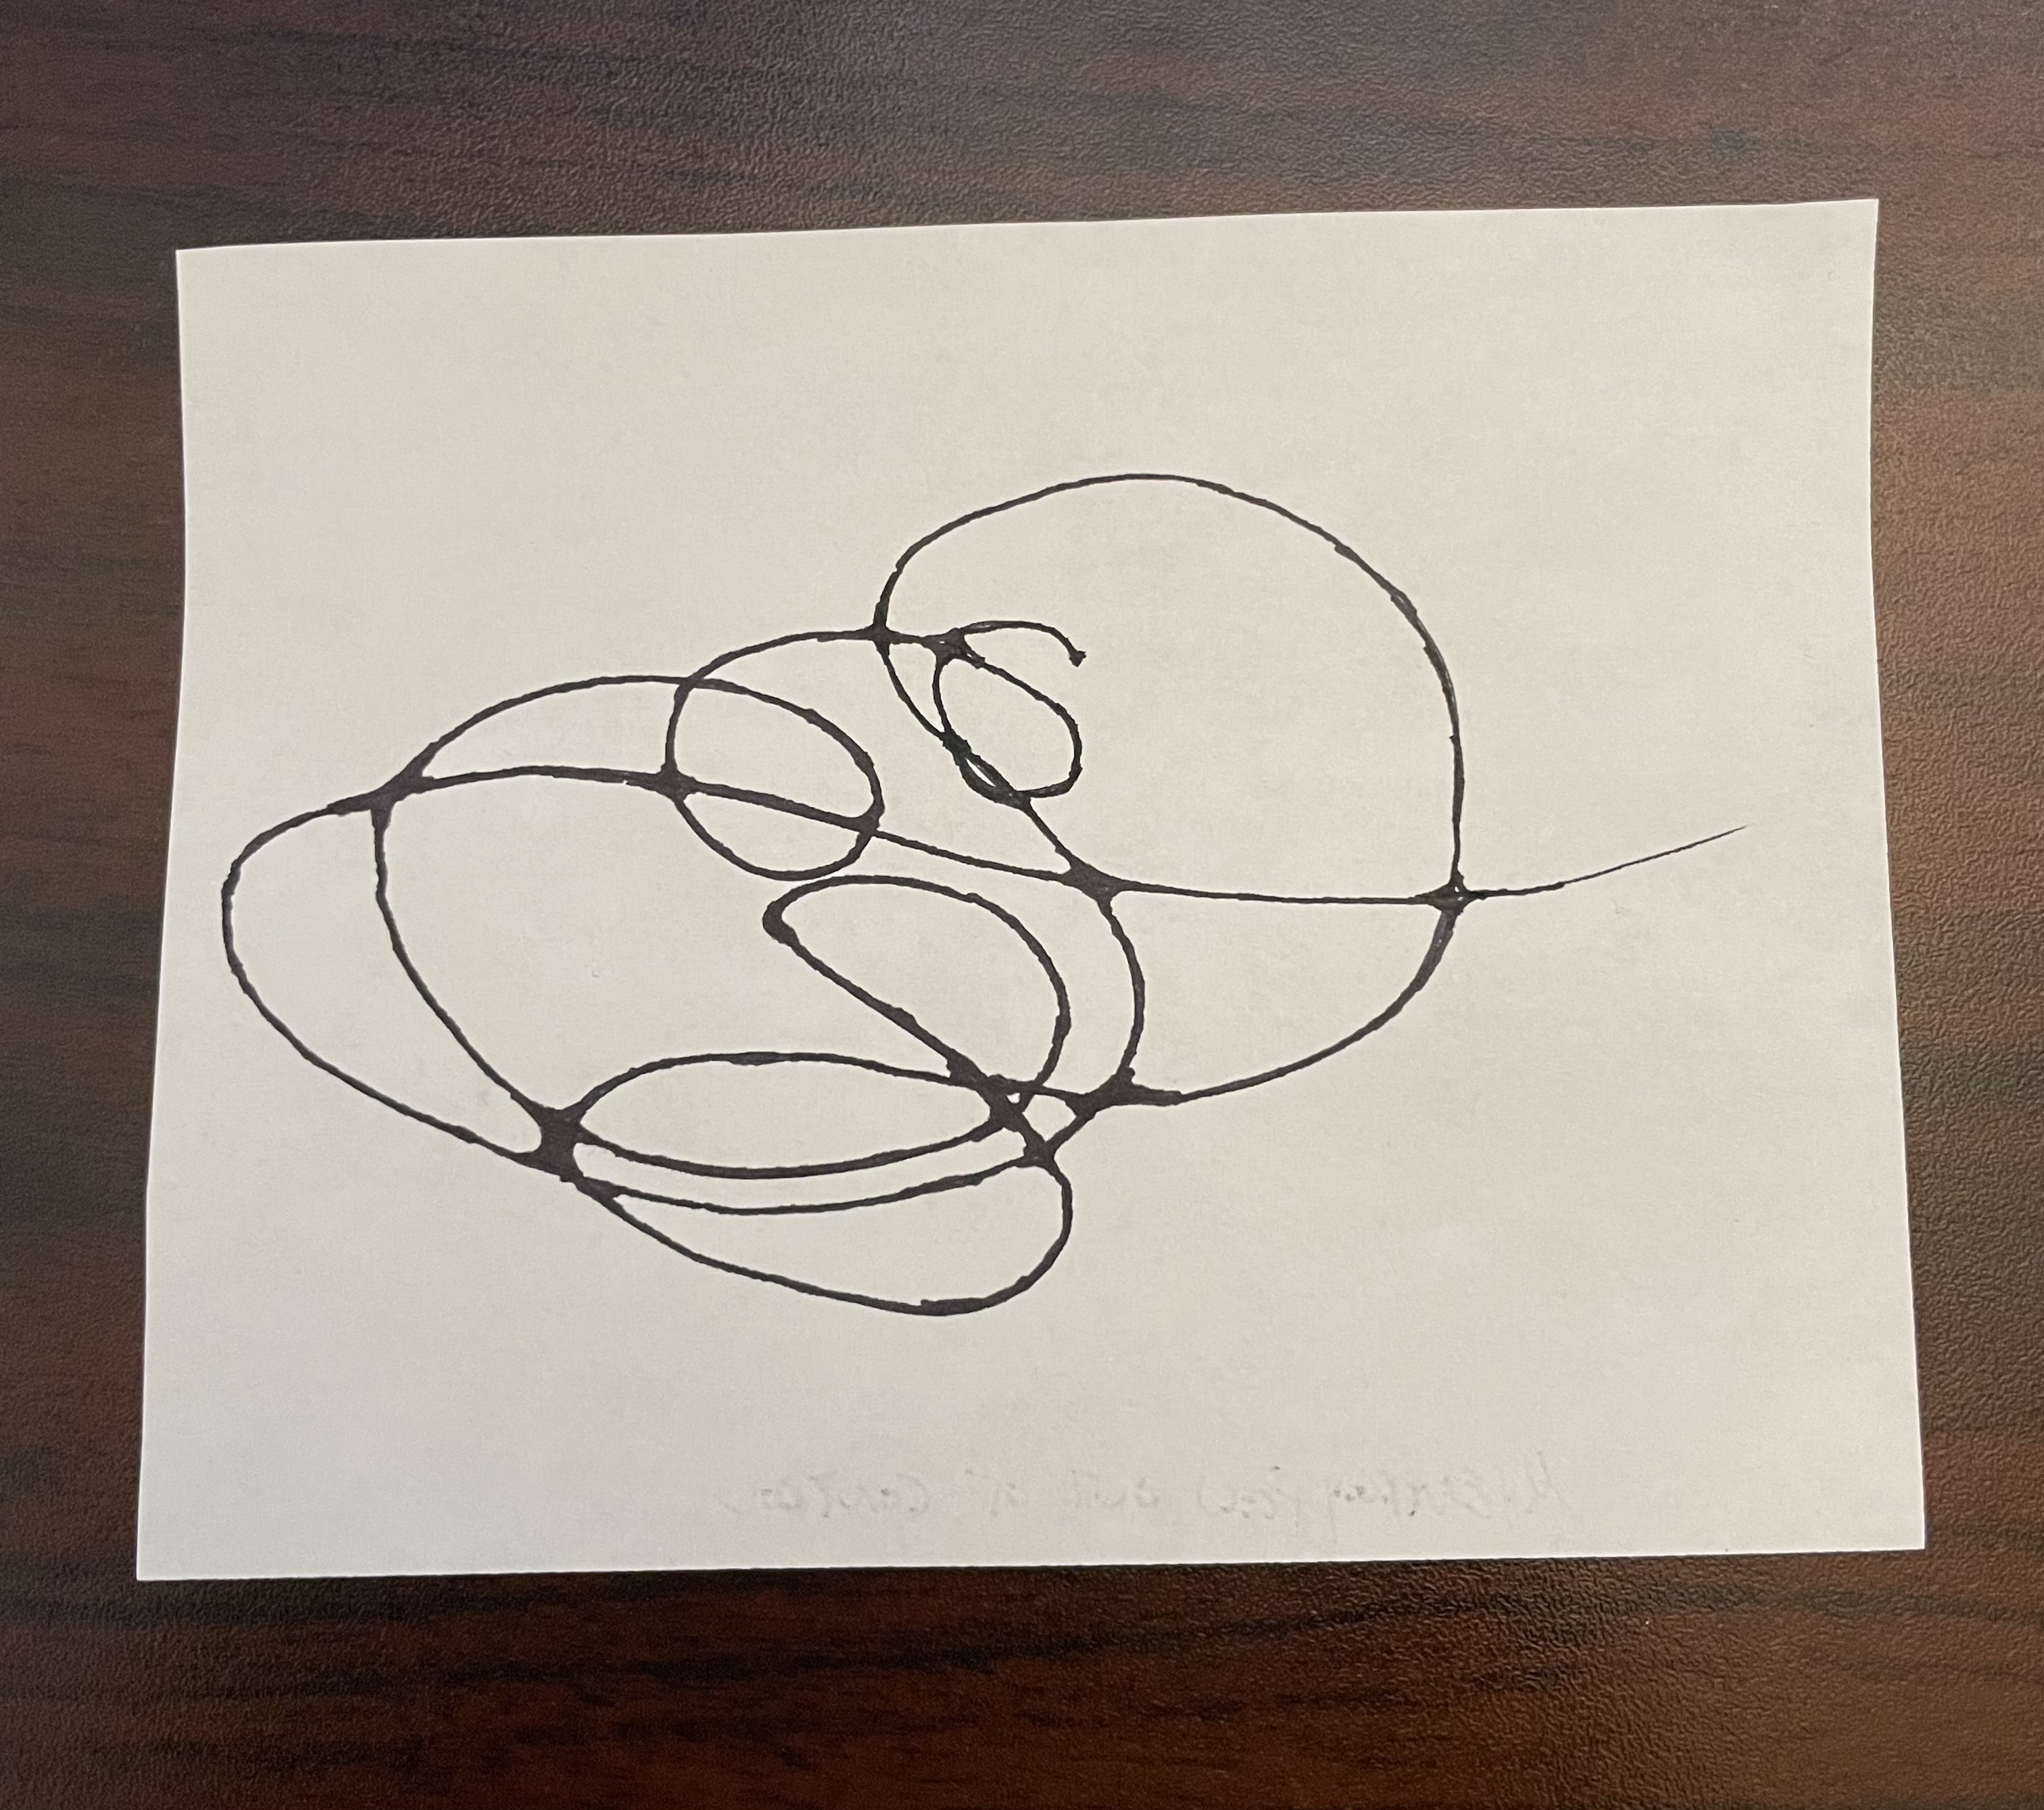
Step 3: Begin the transformation by rounding all corners
Go back over your lines if they feel too thin. There were some spots in my drawing where the pen stopped so I had to go over them again. Look for any sharp edges or intersections where lines meet and round them out. This begins the process of transforming your stress and worries into something beautiful.
Step 4: connect more lines and shapes to the artwork
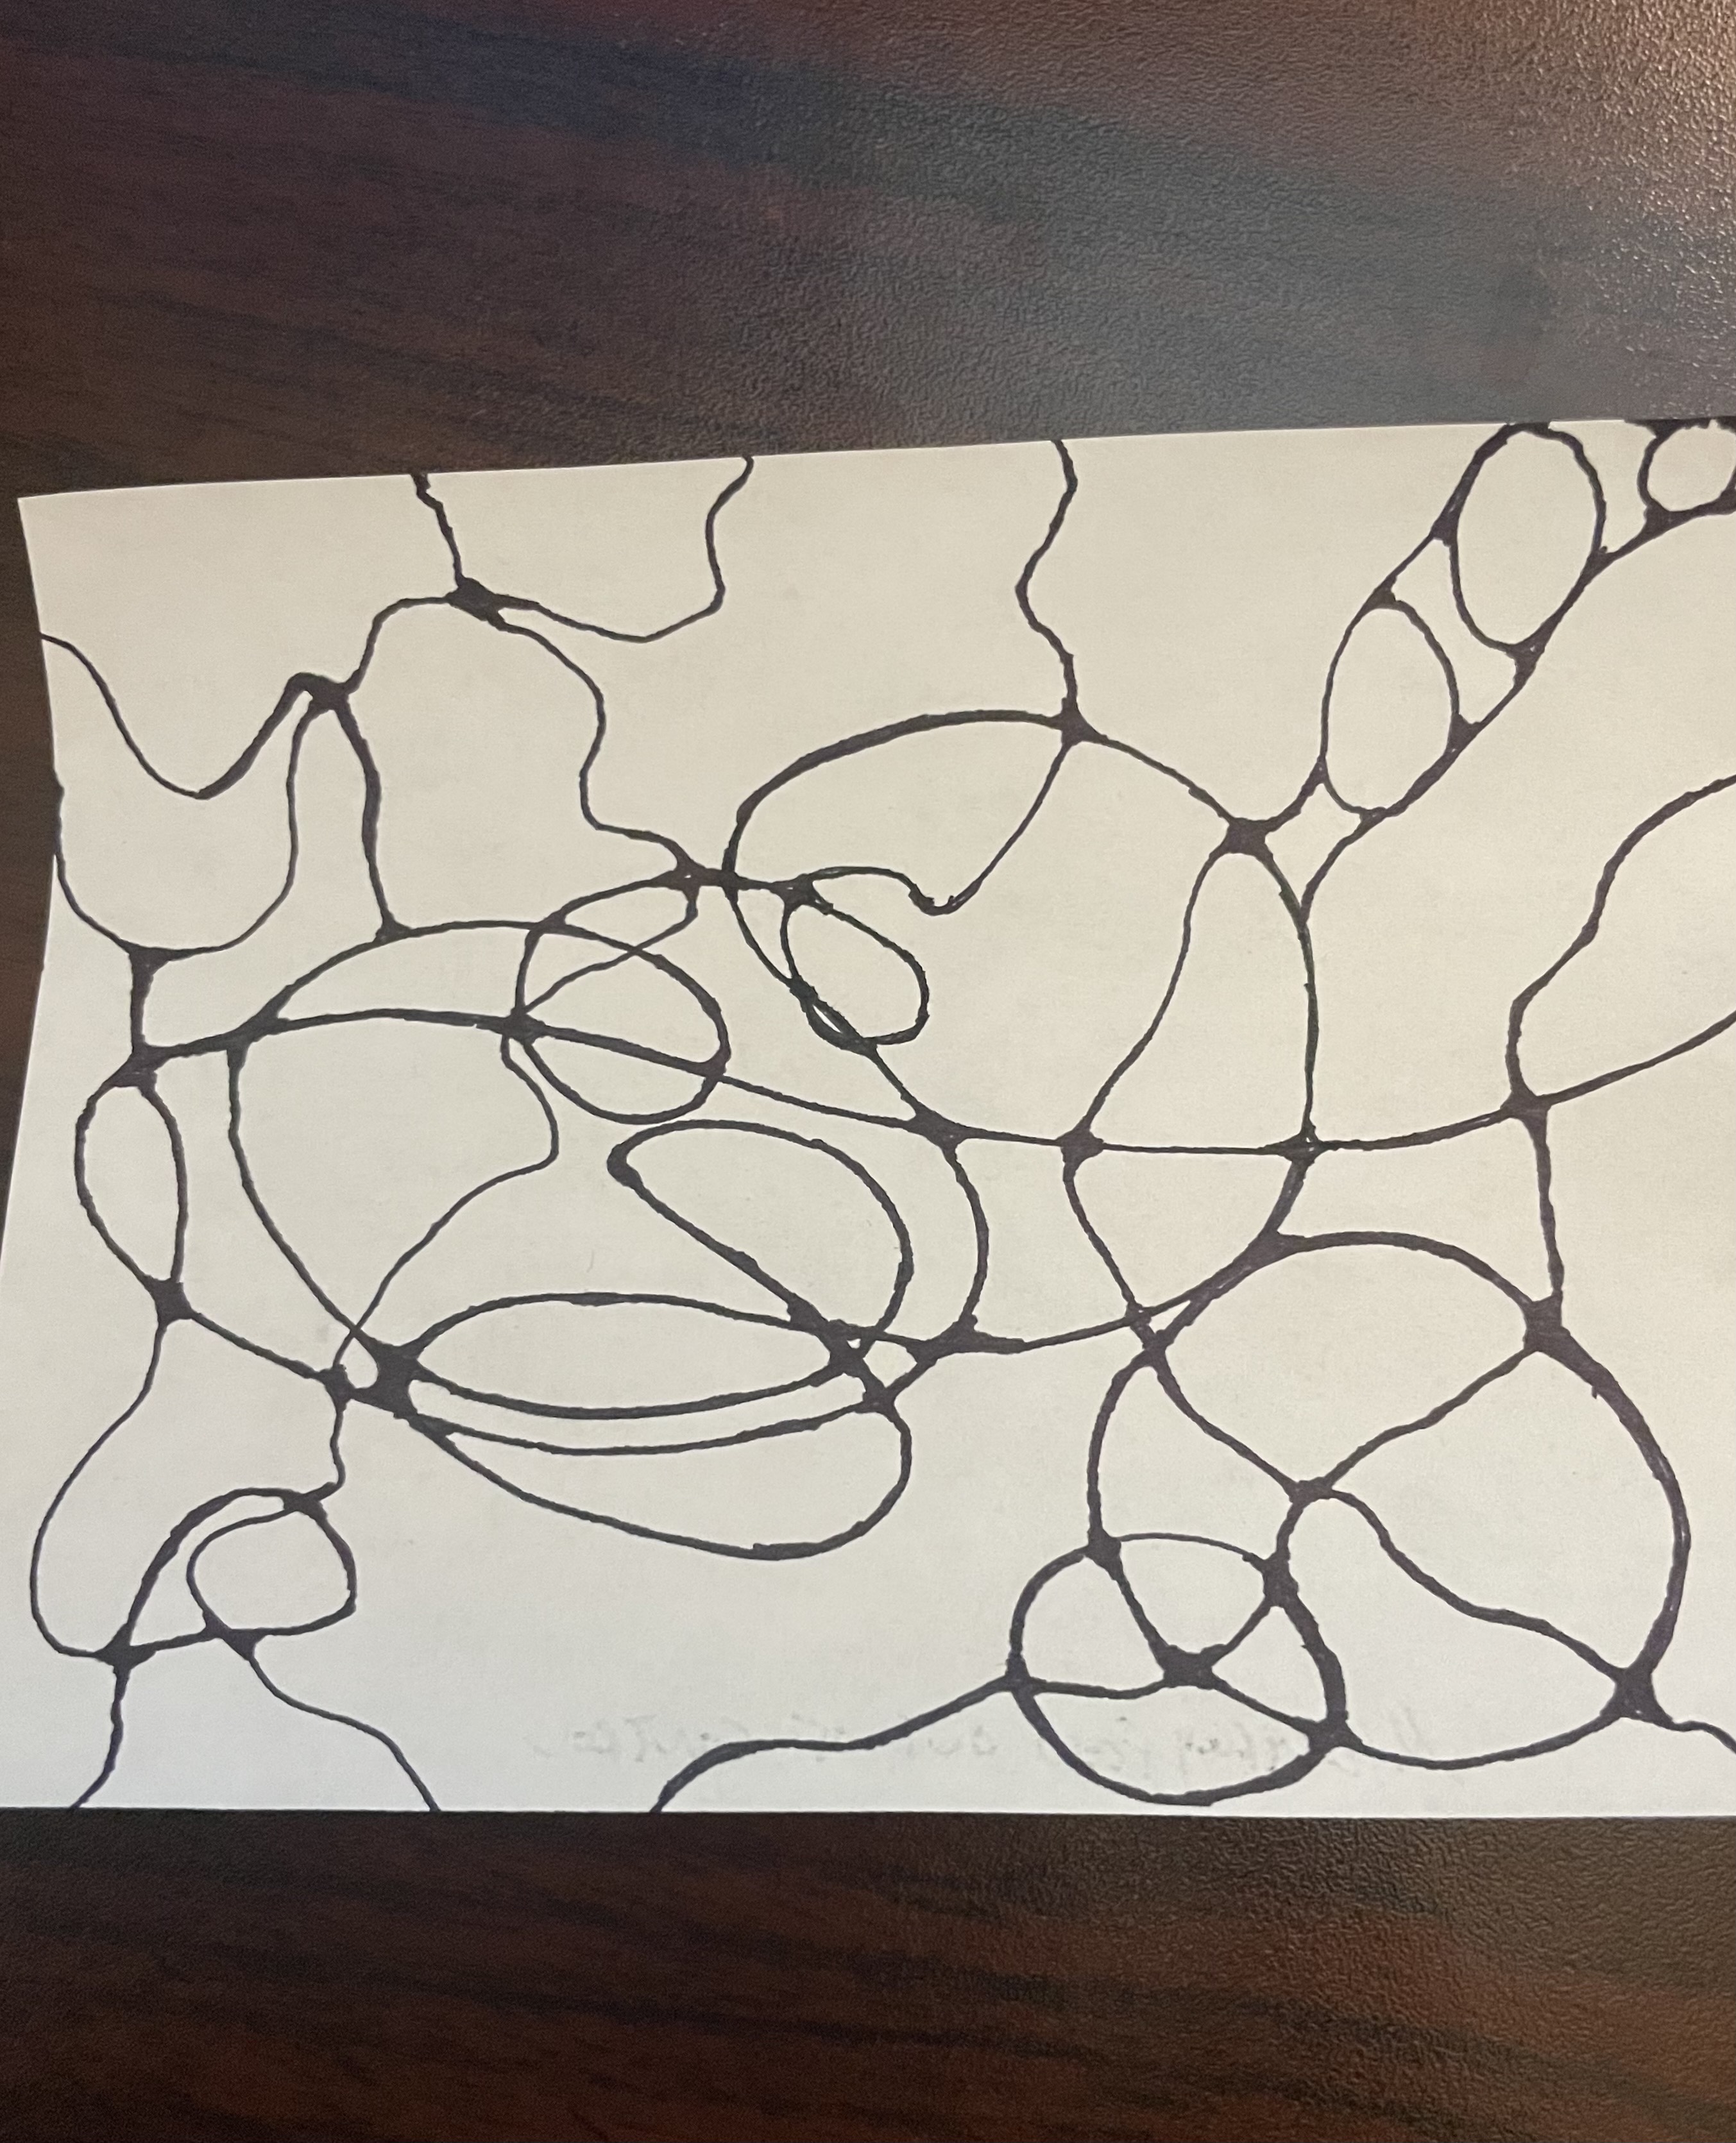
take a look at the artwork and just feel where to add more lines. remember to continue to feel with your intuition where to place the lines. If there are any lines that stop in the center of the page, just connect them to the edges. Add some random shapes or draw more recognizable objects. It really doesn’t matter, just do what you want. However, it is important to make the artwork balanced. I felt like adding some circles to my drawing along with some more neuro lines.
Step 5: Continue to round out the corners
Go back through the drawing thickening up the lines and rounding out any other corners you created when adding to the drawing. this is where the project really starts to take shape. If you don’t like something, add to it! Allow yourself to create something that feels right for you.
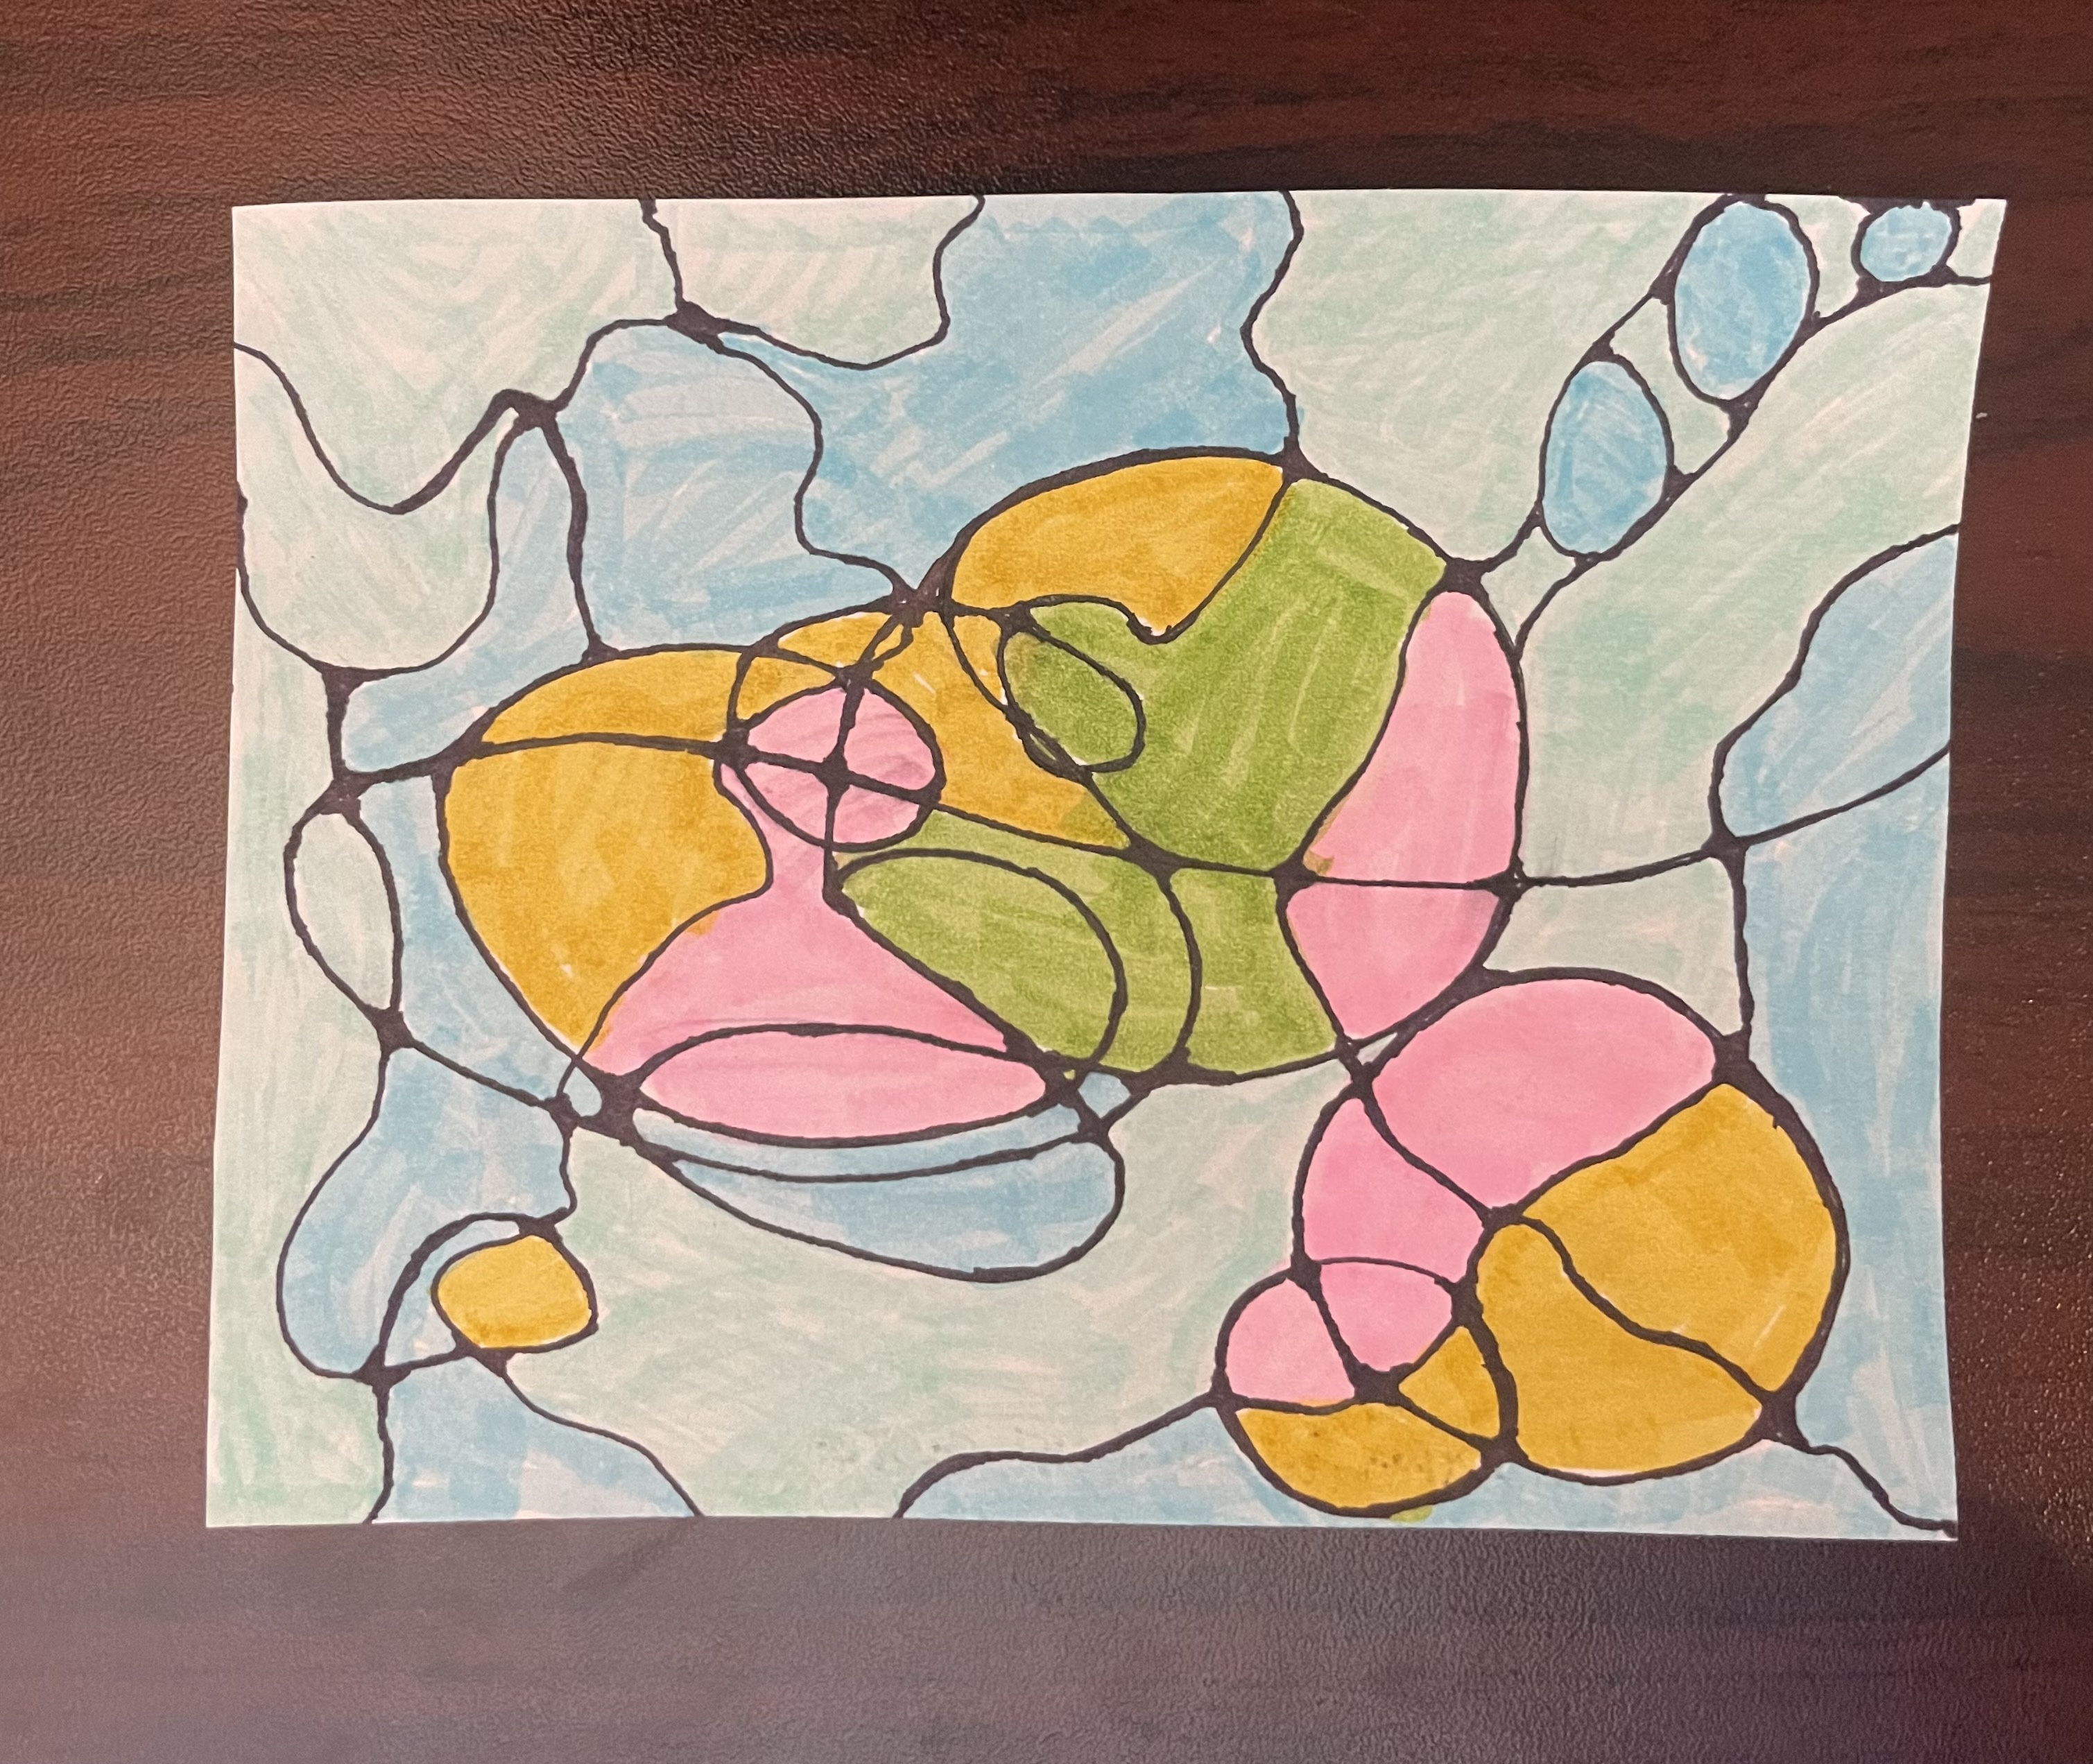
Step 6: Add color
This step is completely optional. If you want to add color go crazy. Don’t worry about staying within the lines in your drawing. Add whatever colors you want into the art. You may also choose to fill in the shapes with patterns or other doodles. You may also want to add shadows to the artwork to add some depth. Make this yours!
What do you think? Give this technique a try and leave a comment below and let me know what you think!
I love the process and the art piece!